How can I set up a geofence?
Contact Support for help in setting up geofences and associated reports.
This is the easiest thing to do.
Geofences are highly resource intensive. We do not usually recommend the creation of geofences by the users because of the possibility of errors and false triggers an incorrectly set up geofence can cause. These errors also affect the reports.
But even so, we allow geofences to be created by the user for a limited period of time so that the user can indicate the locations of his choice where he wants the geofences to be created. Our Support then works on them and often re-creates or modifies the geofences and set up the necessary triggers. Reports are also set up by the Support to reflect the newly created geofences.
During the time allotted for geofence creation, you can click the "New" button in the "Geofence" module to create a new geofence.

Provide a name for the geofence to identify it. You may optionally give a description which can be displayed on reports.

Select the "Type" as Polygon, Line or Circle.
Zoom in and find location of your choice (office, work site or accommodation) on the map.
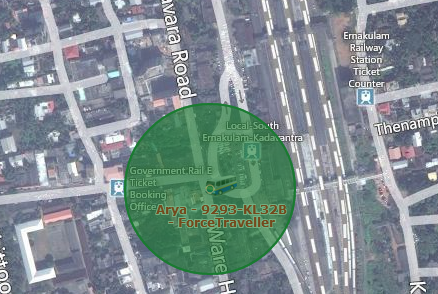
If you have selected the type as circle, double click on the map to mark a circle on the map as shown above.
You can resize it by changing its radius.

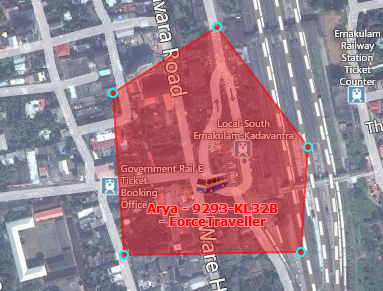
If you have selected the type as Polygon, double click on the map to put the first point on the map as marked in green circle below.

In the same manner add the remaining points to completely create a closed polygon around the area you wish to geofence. Repeated double click on a point will remove it. To move a point, click and hold it, drag it to the desired location and release it.
Click on the "Save" button.
This feature will be open to you for 24 hours upon request. Please contact Support for further assistance.